Ladi Pav | Indian Buns
Ladi Pav is one the most missed Item in States. Eating Vada Pav or Pav Bhaji is no fun without those wonderful Indian Pav. The buns definitely don't replace them. We no longer miss them ever since I started baking them at home since close to 8 years. I don't remember my number of failures while making them until I reached this 100% perfect version.
When I started blogging in 2014, I always thought this would be on my first 5 items, I am surprised it took me so long to get here. So finally here is my full proof recipe for the Pav! This works great in bread machine as well. I have started to use the machine for making my dough, as I make them so often. I am re-posting this recipe from my previous blog which was published in Friday, November 7, 2014
The best part is you could proof the dough in the yogurt mode in your instant pot. Couple of years ago while I was trying to make about 200 of them, I tried to experiment proofing in my instant pot I and could not believe how fast that helped. just took 20 mins for proofing instead of 45-50 mins. Absolutely unbelievable.
Ingredients
1 1/2 cup of Milk
1/4 cup Oil
1 tbsp Yogurt
4 1/2 cup All purpose Flour ( Preferably Bread Flour)
2 Tbsp Sugar
1 tbsp Salt
1 1/2 tbsp Yeast
1 Tbsp Milk Powder( optional)
Procedure
Warm the milk to 110F, It is basically just about hot, keep your finger for 5 sec and you will want to take it out. Put yeast in it and add sugar and let it rest in a warm place for at least 10 min. Once proofed it full rise and become foamy.
This is first check point!
If Yeast is not good or milk is hotter than needed, it wont rise. If it doesn't then repeat this step, it is less likely that you will yield good results if you proceed with badly proofed yeast.
Now Mix all the ingredients and Keep kneading the dough, dust it lightly so that it doesn't stick to working surface, DO NOT add more flour, keep kneading for at least 10 mins or more. At this point it might still be little sticky, Apply little oil to the surface and keep it covered in warn place for about 30- 40 mins.
The dough would have risen and at this point it would have been less sticky. Resting at this stage helps to develop gluten. Apply some oil to your palm and working area and Knead it vigorously. Take out all the anger from your body and keep hitting it. Now the dough should be strech/ elastic kind off and not exactly sticky. Cover it and let it rest for another 40 min.
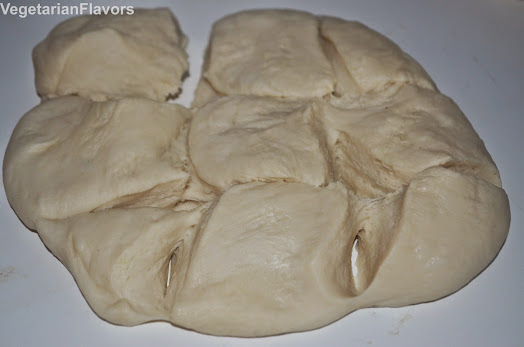
Now the dough would have risen double. Now punch out all the air, Divide the dough into small equal size balls.
Grease the pan/ baking tray and Place each of the ball side by side leave enough room for doubling. Smoothen each of the balls with your hand and applying oil intermittently to your palms.
Cover it and keep it at warm place for about 45 min to 1 hr
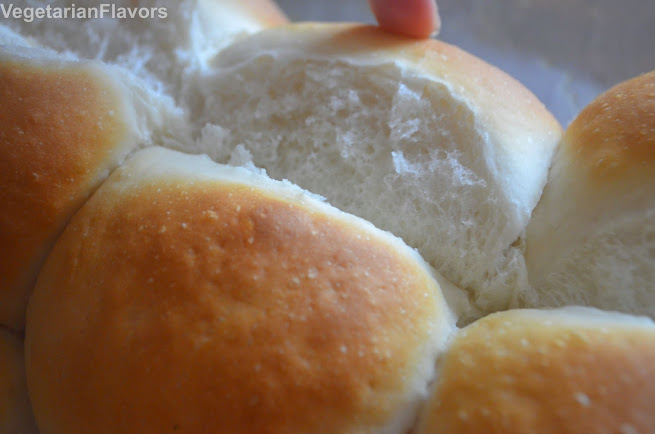
In the last 20 min, Preheat the oven to 400F. Once the bread is completely risen place them in Oven for about 12 min. Again time depends on each oven, Always Keep and eye on it. It would turn nice golden brown and your house would smell full of freshly baked bread!
You can also try out Loaf Bread recipe here
Enjoy with Batata Vada/ our very own Indian Burger
Please do like my page or leave your comments if you are inspired. It is motivating to see your comments.Thanks!
PS: All recipes are without Onion and Garlic
Happy Cooking! Inspire and Get Inspired :)


Tried the recipe of ladi pav today n OMG they came out perfect just like Mumbai ka bakery pav...thanks for the details Rima 😊😊
ReplyDeleteYay!! I am so glad you tried and loved it .. Thanks for the feedback..Nothing totally beats the Mumbai Ladi Pav :)
Delete